 I’ve started to hack on my DLink DIR-825 B1 to get it running FreeBSD and have had some great success. Adrian Chadd, adrian@freebsd.org put together a build system for this router and committed some of the needed changes to get this Atheros MIPS 24k based router working for us and I’ll try to document my steps in getting it working.
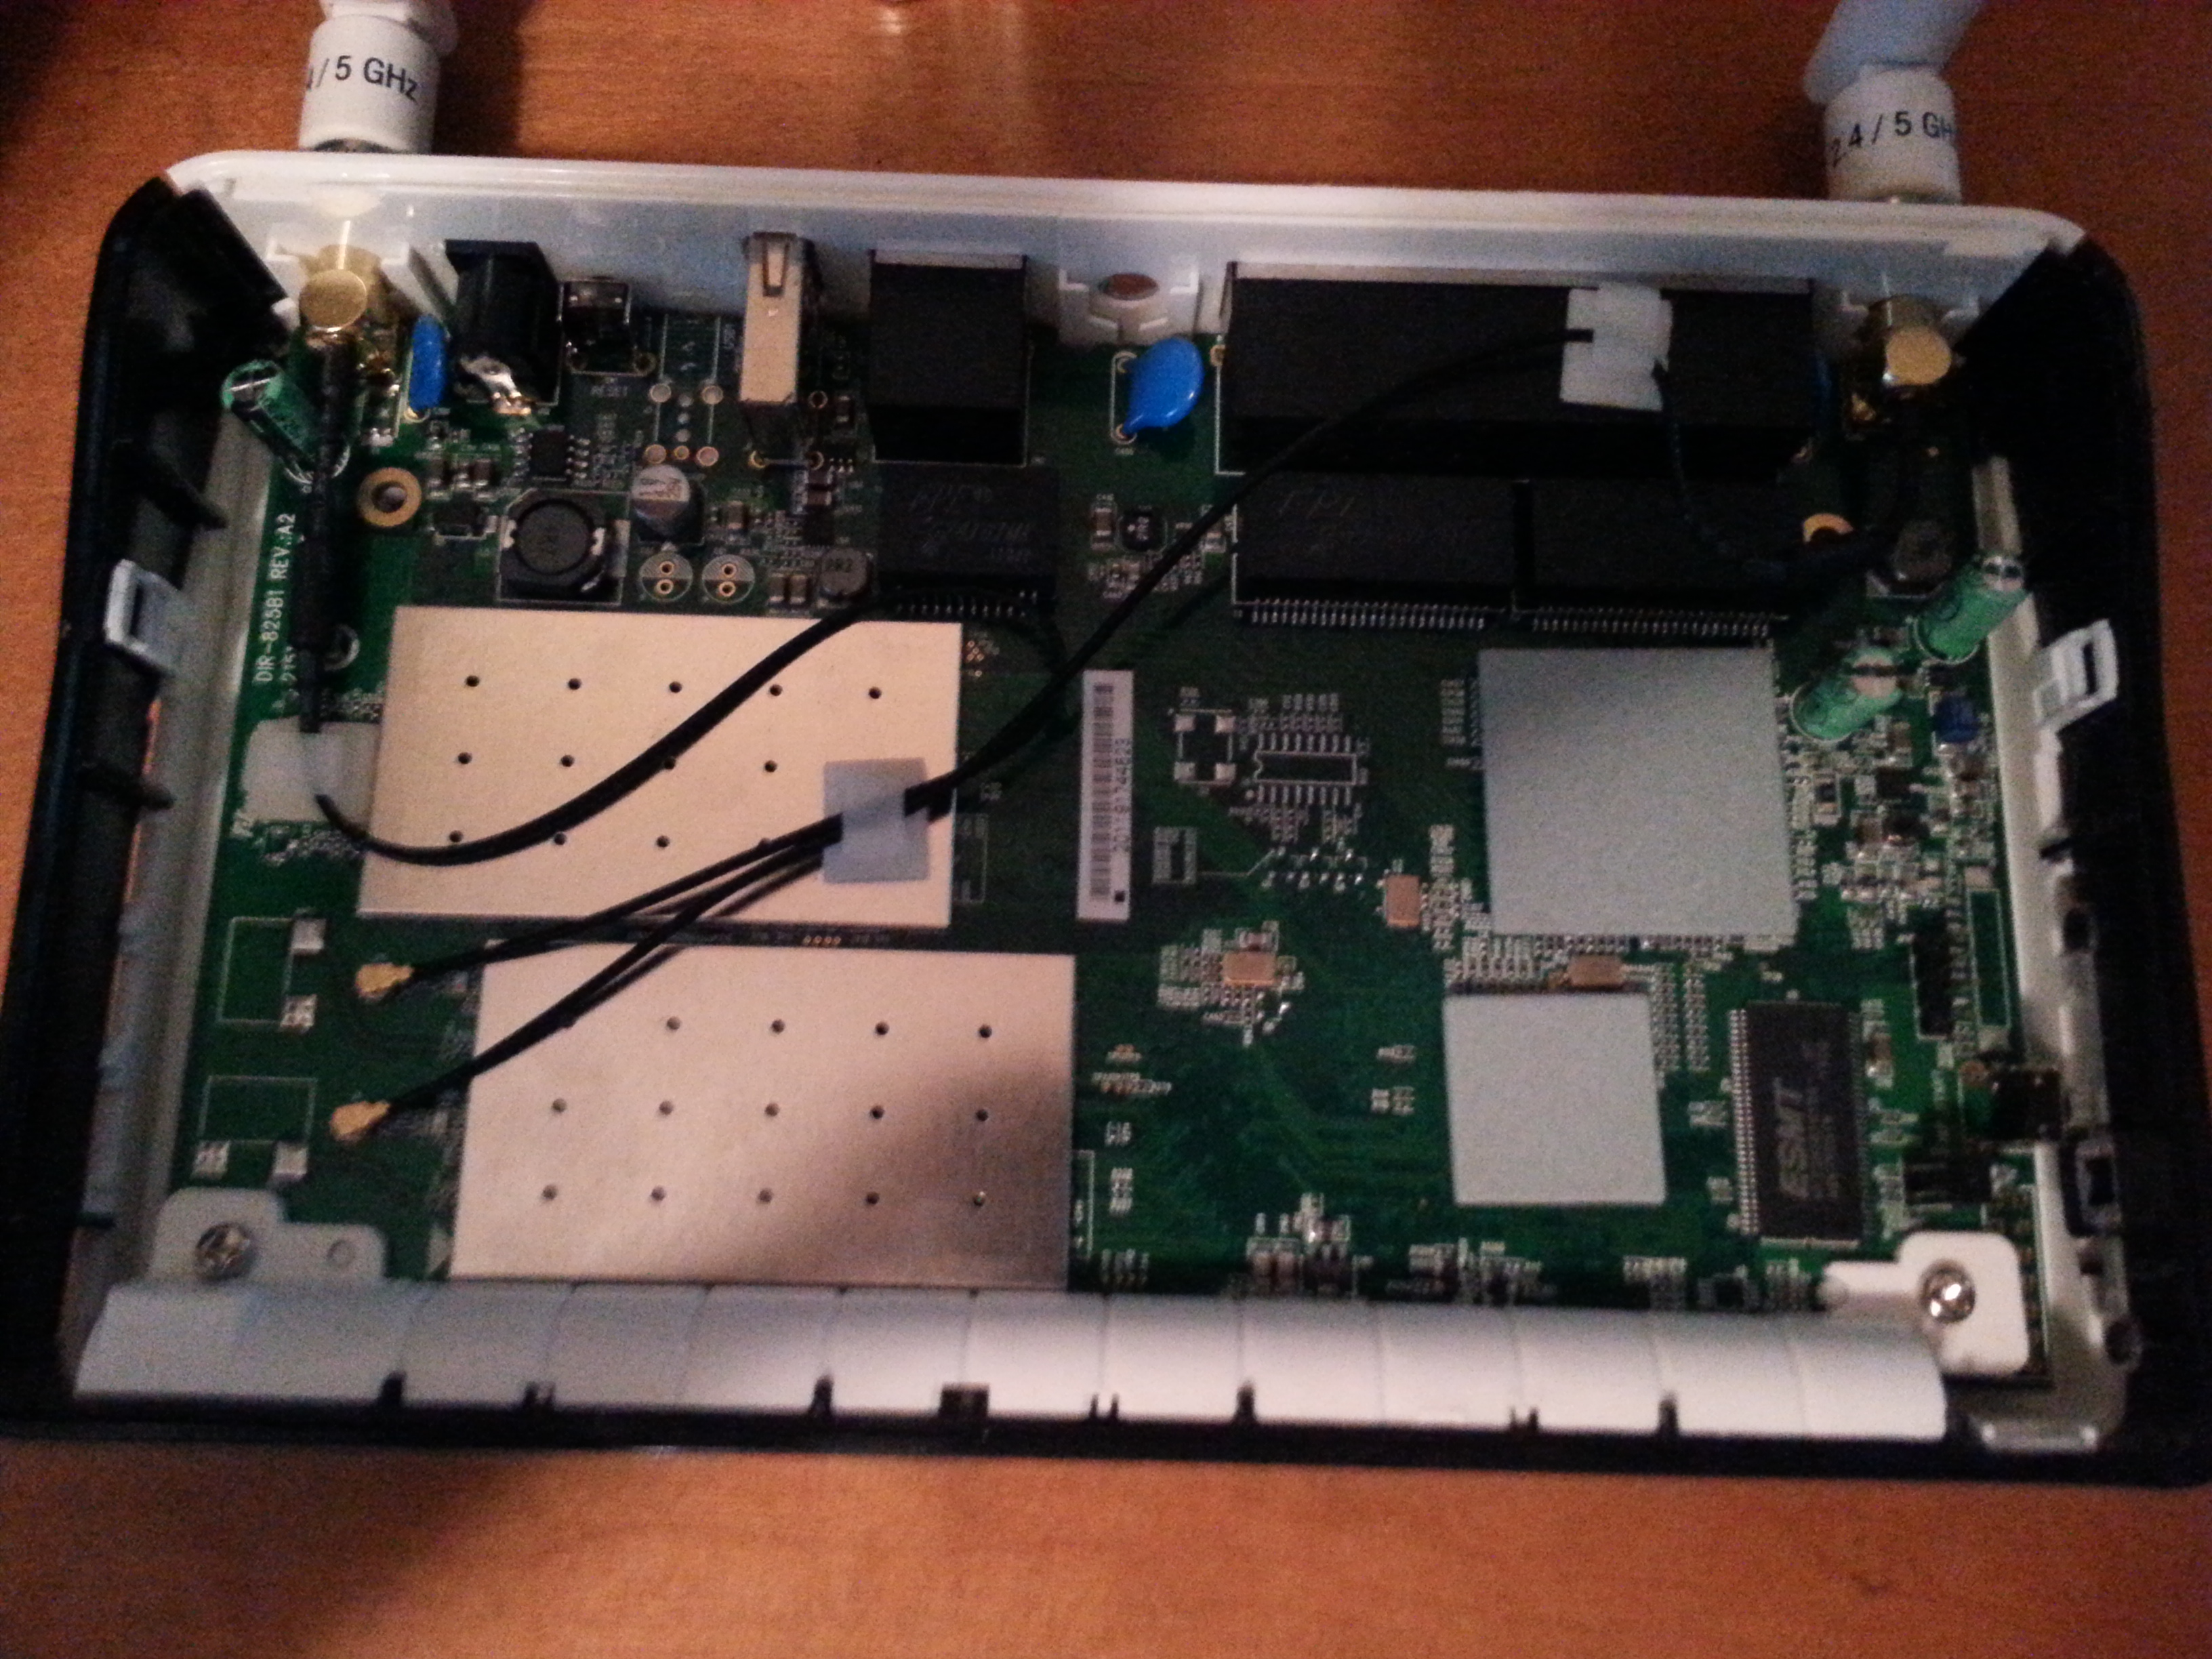
These things come with a variant of Linux installed, so the first step is to get a working serial console on it. By default the serial console is 115200, 8N1. There are 4 pins providing a 3.3v TTL RS-232 connection on the board, but you have to solder the pins on yourself. Removing the board requires removal of the 2 screws underneath the small, black rubber feet on the bottom of the case.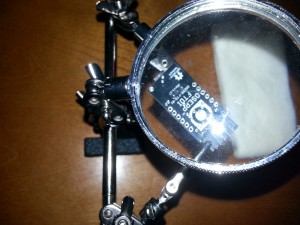
Opening the case requires a bit of pressure, but it will come apart and the top half of the case will detach, giving you access to the interior. Next remove the two screws securing the LED shroud and main board to the case. There may be bits of tape holding the DIR-825 B1 interior and shroud in place, so remove them and you should be able to remove the router from its case.
Your goal now is to get 4 pins soldered onto the board at JP1. This will give you a VCC, Ground, TX and RX connection of a TTL serial adapter. I recommend purchasing the cheap, Open Source Hardware version, either from Fry’s or online. This will give you the flexibility to do 3.3v or 5v TTL serial and let you use any mini USB cable you have lying around to get the console working.
Once you have soldered your pins, connect them to your serial adapter. OpenWRT has the pinouts you need. Pin #1 is the connection closest to the label JP1 on my board. The VCC connection is identified with a full square around the pin. You will not need to connect up the VCC connection in any way, so leave it alone.
At this point, connect your TTL serial adapter to the USB port of your PC and open a connection to it via your favourite serial port application (minicom, cu, etc). You should be able to power on the DIR-825 and watch the system boot up now.
Why is this important? We have no way of interacting with the unit if we fail to boot. Developing the O/S images for deployment require many mistakes, most of which end up requiring reboots. There’s no easy way to determine what went wrong without some kind of log, the serial console is your most important interface to managing your router. Besides which, its TOTALLY RAD to hack on your equipment and see the results of your work when you get the serial console working. You don’t have to know how to code, nor do you have to even be an o/s developer to think that this is cool.
2 responses to “How to fry a router, in X easy steps: The Serial Console”
I followed these steps to get a working console on my dir-825 b1. The router is stuck in a kernel panic. I can stop it from booting but that’s about it.
I can’t seem to flash any firmware onto it. I never get a good ping response.
Is there a way to flash it over the serial connection?
No, the uboot loader that is on the router never seems to respond to the serial console.
Disconnect power from the router, press and hold the reset button on the rear with a pen or other small item, reconnect power. Wait about 10 to 15 seconds and then the router will go back into f/w recovery mode.
It will start a minimal web server on http://192.168.0.1 so you can upload f/w again.
EDIT:
I just updated to freebsd HEAD at svn R254450 and my router booted up flawlessly.
I have a couple of diffs against the wifi build scripts to setup my wireless lan and such., email me directly if you’d like them, but they shouldn’t affect your router.