Spent some time this week screwing around with the “serial” port on my laptop. Serial consoles are one of those things that you seem to always need when doing o/s development. Its the only reliable way to get debugging information and on PC architectures, its really the best way to find and resolve serious problems in the kernel or drivers.
Laptops dropped their DB-9, RS-232 connection years ago and up until recently, you couldn’t really do much with debugging except take pictures of your laptop’s console when it had crashed. I discovered that my laptop has AMT features built into it and decided to see if I could make FreeBSD use it as a serial console for debugging and diagnostics. Turns out, its mostly functional and seems to do what I want.
Turning AMT on is a bit goofy, mainly do to some fairly strict password requirements, but lets start from the beginning. I’m using my Lenovo T520 as an example, so your BIOS will vary based on your laptop vendor.
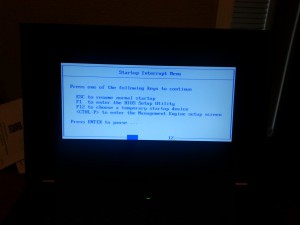
Hit your “enter the bios key command” which on my ThinkPad is the blue “ThinkVantage” button, but for the rest of the universe is probably F10, DEL or some other normal key. This should bring up your bios selection menu and now enter your bios configuration menus.
Turn AMT on in BIOS
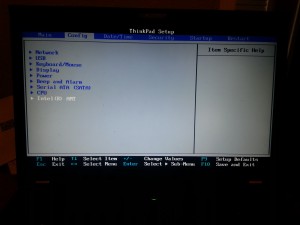 I left the values, more or less, at the defaults here.
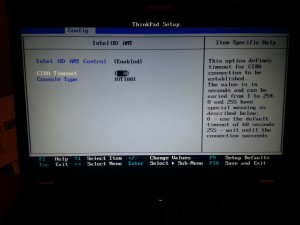 Save, reboot. Now when you hit your bios configuration button:
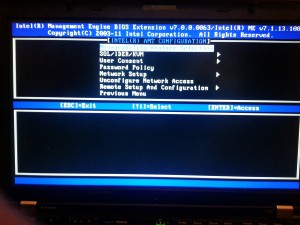
Hit <ctrl-P> now to enter the AMT configuration screens. 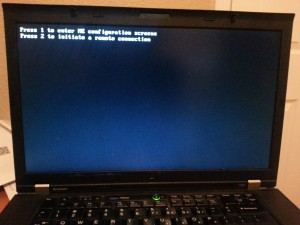
The first time you do this, there will only be one option, so hit “1” to enter the AMT configuration screens. We’ll come back to this menu list later.
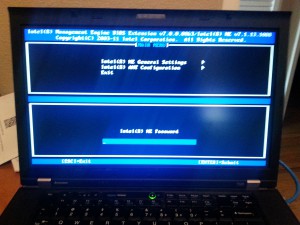 If this is your first time entering this machine’s AMT device, its going to force you to reset the password from “admin” to something else. The password requirements on the AMT device are pretty strict, but this should explain it for you.
You’ll need to adjust one or two settings and activate the AMT configuration’s IPv4 settings.
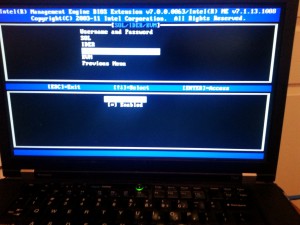
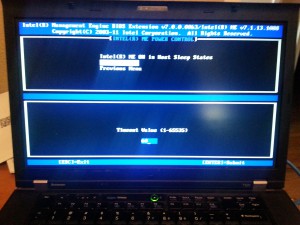 Select SOL/IDRR/KVM. We’re going to activate Legacy Serial Redirection here
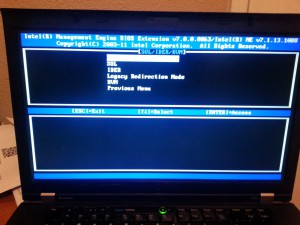 Obviously, Enable is what we want here.
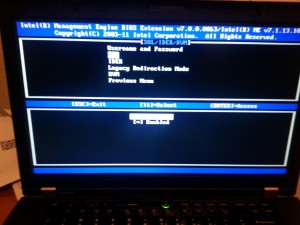 Select Legacy Redirection Mode, then select Enable
Back to Main Menu and Select Network Setup
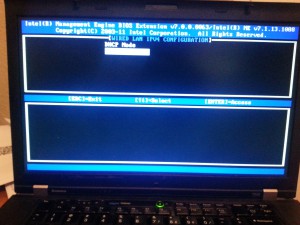
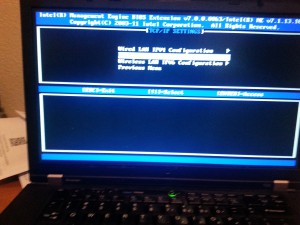
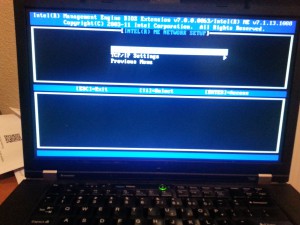 TCP/IP Settings and Setup Wired Lan IPv4 Configuration
 I’m going to set DHCP mode for this test. You can set static IP if you wish.
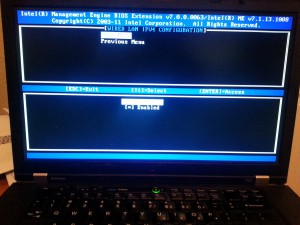 At this point, you’re ready to save/exit/reboot. To test that the DHCP settings are working, toggle your BIOS button again (F10/DEL/ThinkVantage) and hit <ctrl-P> to get the AMT menu again.
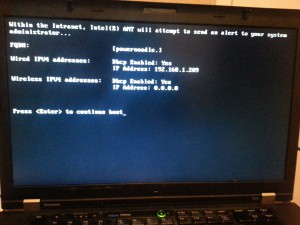 Hit “2” to check that the AMT can indeed get an IP address. Note that this address is the same as your laptop IP, at least it should be. There is some magic going on here that allows the AMT device to share the MAC address and the IP address of your host. Its interesting but also causes odd things to happen that we’ll dig into a little bit later in the post.
Now that you’ve gotten an IP address, you can boot normally into FreeBSD. We now need to modify FreeBSD to boot up onto a non-standard (COM1,2,3,4) and get the serial console working. This is pretty standard stuff, /etc/ttys, /boot/loader.conf, /etc/make.conf things.
Determine what the pci bus address of the UART is in your system via:
pciconf -l | grep uart
uart0@pci0:0:22:3: class=0x070002 card=0x21cf17aa chip=0x1c3d8086 rev=0x04 hdr=0x00
or
dmesg | grep uart
uart0: <Intel AMT – KT Controller> port 0x6070-0x6077 mem 0xf522c000-0xf522cfff irq 19 at device 22.3 on pci0
uart0: console (115200,n,8,1)
uart0: fast interrupt
make.conf:
BOOT_COMCONSOLE_SPEED=115200
loader.conf:
console=”comconsole”
comconsole_speed=”115200″
comconsole_pcidev=”0:22:3″ #Determine this value from the pciconf -l
device.hints:
If you have a device.hints file, comment out the hints for hw.uart settings. Leave only the setting for the flags:
#hint.uart.0.at=”isa”
#hint.uart.0.port=”0x3F8″
hint.uart.0.flags=”0x10″
#hint.uart.0.irq=”4″
#hint.uart.1.at=”isa”
#hint.uart.1.port=”0x2F8″
#hint.uart.1.irq=”3″
boot.config:
add the -Dh for dual console support
/etc/ttys:
Enable ttyu0
ttyu0 “/usr/libexec/getty std.115200” vt100 on secure
Issue a kill -HUP 1 to let init fire up your getty instance. If all is well, you can now go to the computer you want to use to as a console device for this laptop. Using FreeBSD ports, install comms/amtterm. In order to connect to your laptop and validate that its working correctly, issue the following command:
amtterm -p <password you set in the AMT> <IP address of laptop>
If you get a tty login, you’ve suceeded!amtterm: NONE -> CONNECT (connection to host)
ipv4 192.168.1.209 [192.168.1.209] 16994 open
amtterm: CONNECT -> INIT (redirection initialization)
amtterm: INIT -> AUTH (session authentication)
amtterm: AUTH -> INIT_SOL (serial-over-lan initialization)
amtterm: INIT_SOL -> RUN_SOL (serial-over-lan active)
serial-over-lan redirection ok
connected now, use ^] to escape
FreeBSD/amd64 (powernoodle) (ttyu0)
login:
The last steps are fairly trivial. You need to rebuild your kernel to pickup the changes to /etc/make.conf. If you do an installkernel and reboot, you’ll now be able to capture the boot up sequence (no boot0 support) once loader starts. You’ll get to see the beastie menu in all its glory.
The machine I’m using uses a Intel Ethernet chipset via the em(4) driver, this has some very strange behavior that I will take a look at over the next couple of weeks.
With AMT enabled, the ethernet connection only negotiates to 100Mbit. This is very amusing to me as it acts a lot like IPMI in this regard. When em(4) initializes it *will* drop your amtterm connection. Irritating, but em(4) hasn’t been taught enough logic to deal with the connection to the AMT device.
Rebooting the laptop will disconnect your AMT session. AMT is not a server grade thing like IPMI, so there’s no garauntee of reliability at all. AMT is sniffing packets that are addressed to the laptop and snipping them out of the air. Its a very delicate hardware hack but it does to the trick.
Since AMT presents itself as a non-standard COM port, I’m pretty sure that the boot0 and boot2 loaders can’t use AMT as a serial console. This means that things like gptzfsboot might have issues that you cannot debug. As far as I can tell however, this is the one of the most likely to work mechanisms for administration of your laptop and development for things like suspend/resume support.
